

Connected with WPA2 and firewall protection - That was so easy.
Click on the following link for full instructions:
http://fredericiana.com/2006/06/11/ubuntu-dapper-drake-and-wpa-encrypted-wireless/
In short: Nine seven steps to WPA encrypted Wifi with Ubuntu Dapper Drake:
sudo apt-get install wpasupplicant(might already be installed)- (You might have to do a
sudo apt-get updatein order to fetch the newest metadata for apt-get) sudo apt-get install network-manager-gnomesudo gedit /etc/network/interfaces— Comment out everything but “lo” entries in that fileCreate a file called/etc/default/wpasupplicant, add entryENABLED=0- Reboot your system
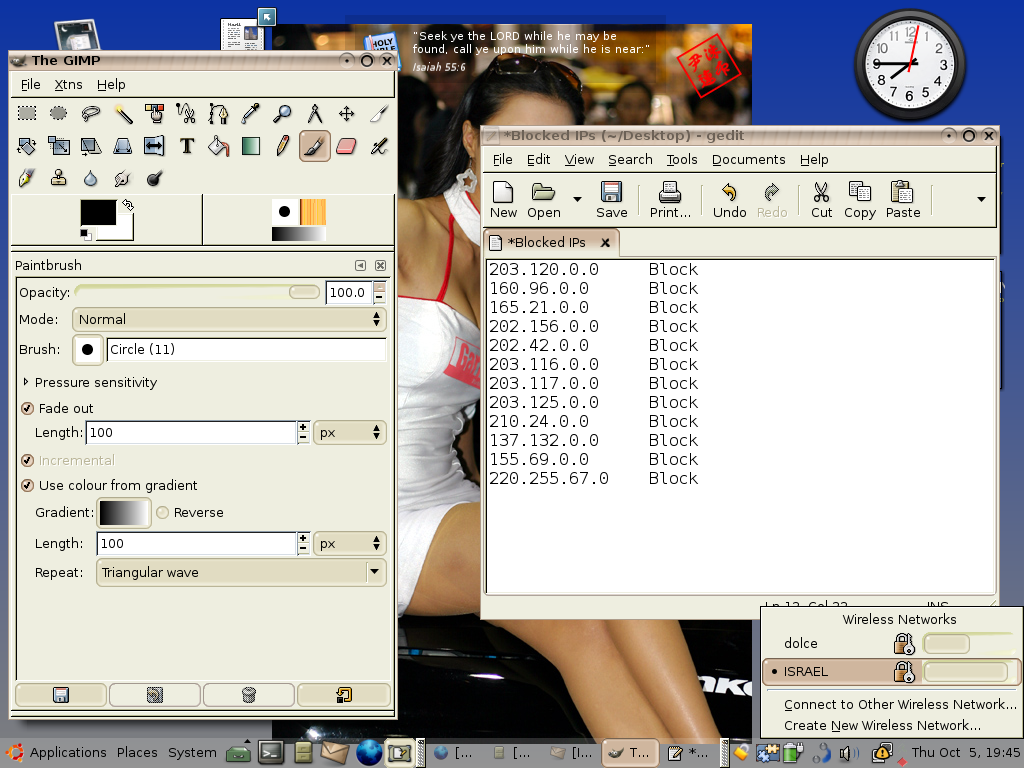
- Left-click the network manager icon in Gnome and select your wireless network
- Follow the prompts for password, type, etc.
- It will ask you to choose a password for your new “keyring”.
- Be happy

No comments:
Post a Comment